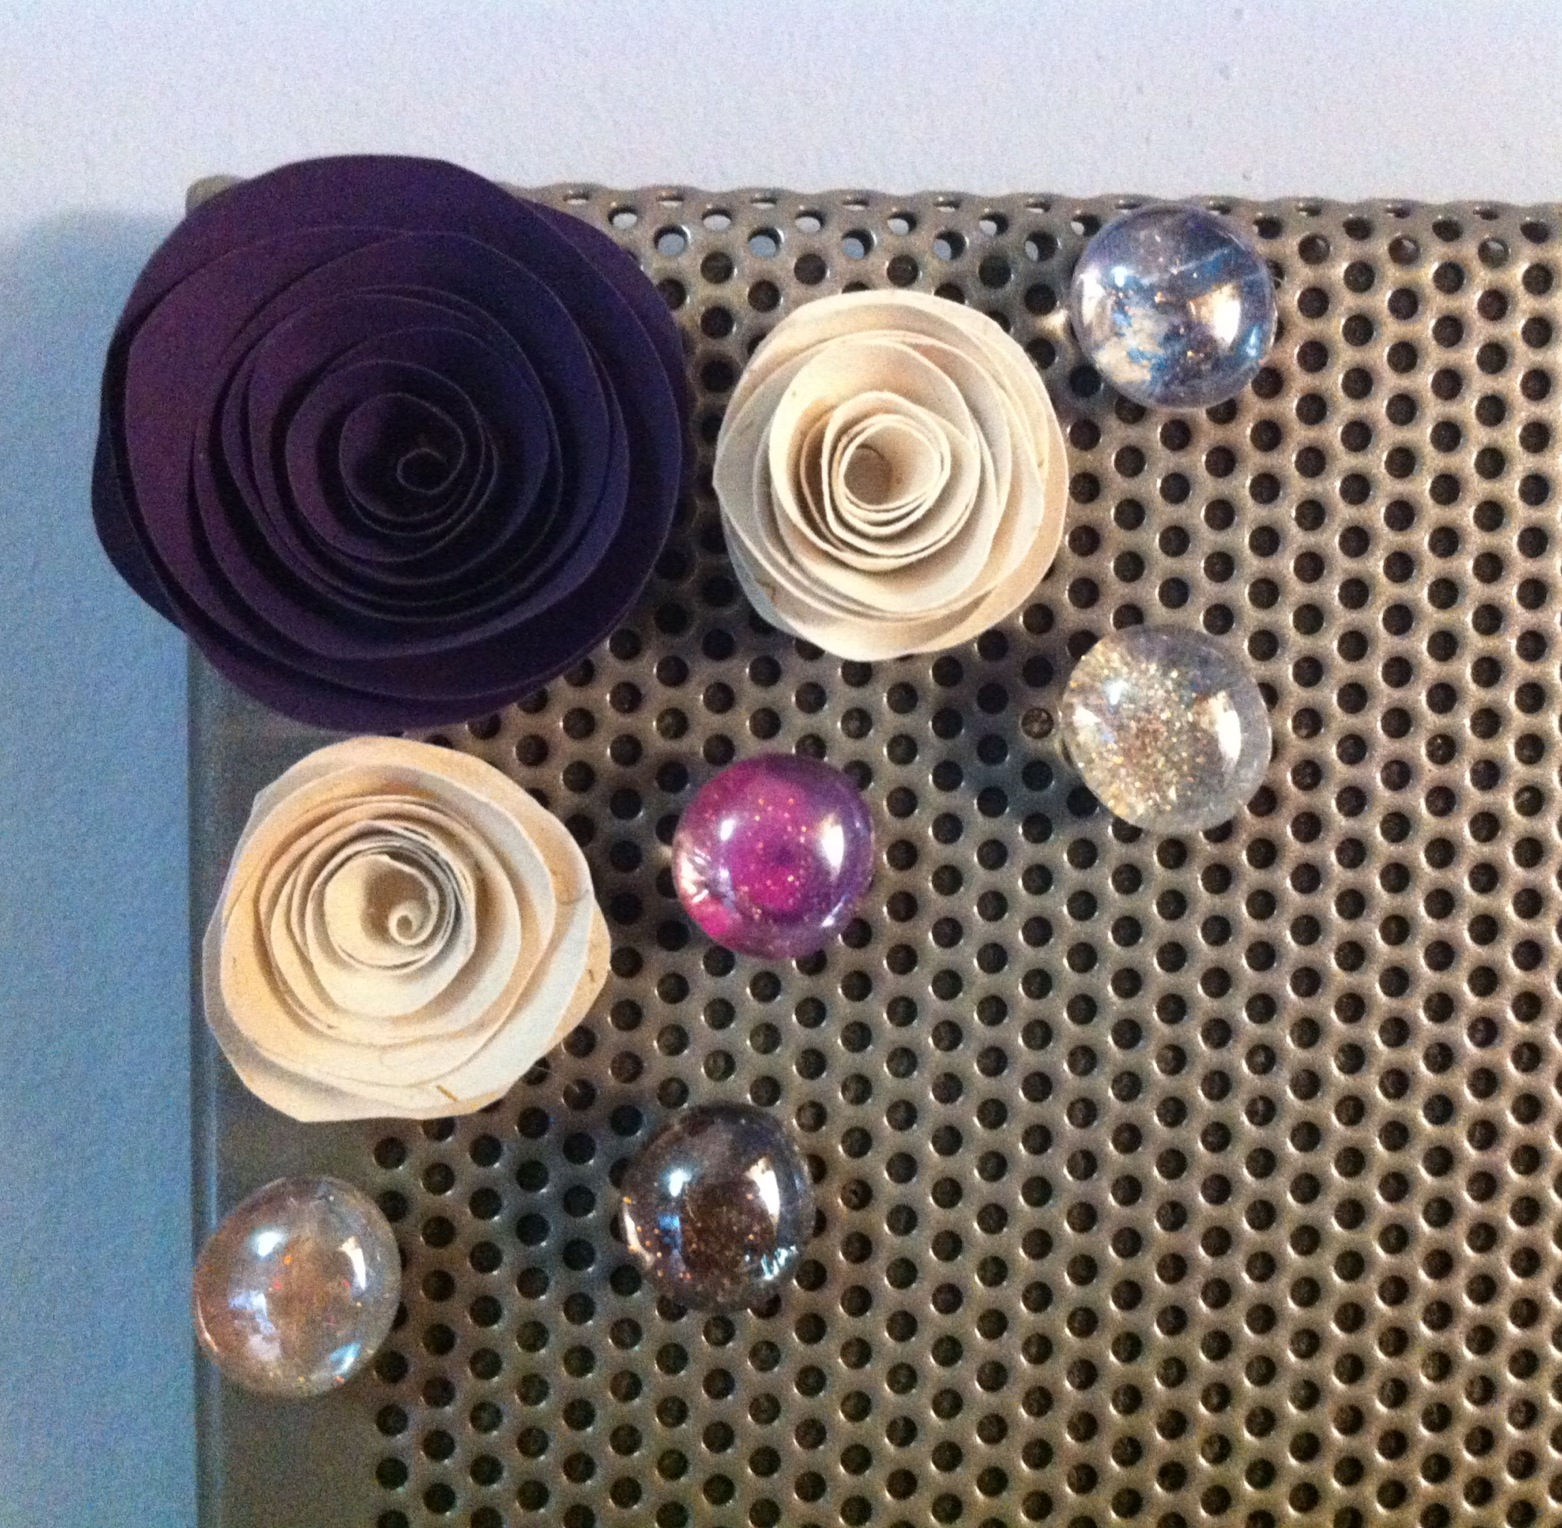
 I took a couple of the magnets that I've made from my Spiral Paper Flower Tutorial and my Glitter Domed Glass Magnet Tutorial and updated my magnet board in my craft room. It was getting a little cluttered so I cleared it out except for these in the corner, leaving plenty of room for new crafty items of inspiration.

Showing posts with label Paper Crafts. Show all posts
Showing posts with label Paper Crafts. Show all posts
Monday, March 25, 2013
My Magnet Board In My Craftroom With Magnets I've Made
I took a couple of the magnets that I've made from my Spiral Paper Flower Tutorial and my Glitter Domed Glass Magnet Tutorial and updated my magnet board in my craft room. It was getting a little cluttered so I cleared it out except for these in the corner, leaving plenty of room for new crafty items of inspiration.

Wednesday, February 27, 2013

Washi Tape - My newest Craft Purchase

Monday, February 11, 2013
Glitter Colored Domed Glass Magnets Tutorial

I have a couple of magnetic boards in my house (one in my craft room and two over the desk in my kitchen) and I am always looking for different magnets to use on them. I had a couple of bags of flat bottom glass marbles and a ton of old magazines laying around so I decided to make my own magnets. Here's what I did:
Glitter Colored Domed Glass Magnets Tutorial:

- Flat bottom glass marbles
- Old magazines, old kids books, scrapbook paper or any other printed paper
- Glue gun and Glitter glue sticks (if you dont have a glue gun, you could do this with Mod Podge and loose glitter, but I find it easier to use the glue sticks with the glitter already built in- one less step)
- Magnets smaller than the size of the flat bottom marbles you're using
- Scissors
Directions:
- Heat up your glue gun- put a glitter glue stick inside.

Trace the outside of the flat bottom glass marble on the paper you want to make the marble out of. I've found that they are all a little different in shape so I trace each individually. If yours are more uniform then trace another piece of paper/thin cardboard to make a template that you can use instead. -

Cut out the backing just inside the line. - Optional: If you would like to add any embellishments (like a cut out letter on top of the background) glue them (regular craft glue) to the top of the cut out paper now.
-

Put a dab of the glitter glue on the flat side of the glass marble. Attach the paper to the back of the marble (making sure to press from the inside out). 
Once the glue has dried, add another dab of glue to the back of the paper and attach your magnet. 
Enjoy your new magnet!


Sunday, December 16, 2012

Monday, November 19, 2012
Peace Love Smile Glitter Paper Letters

Sunday, December 11, 2011

Sunday, November 27, 2011

Sunday, August 14, 2011

Thursday, May 26, 2011

Saturday, March 5, 2011

Friday, February 4, 2011
Spiral Paper Flowers Magnets Tutorial

My sister in law is getting married this summer, and I thought it would be cool if she had some of these paper flowers on the guestbook table, either in a cluster or in a bowl or on a plate. I made these with random scraps of paper I had lying around- I dont love the colors together but they worked for practice. There are a lot of sites out there with great tutorials on how to make them, but here's the quick and dirty version:
**If you sell or post any items made from this pattern, please include a link back to my site. (EX- "This item was made from a pattern on Stargazun Designs" ) Thanks!!**
1. Cut a square of paper. The size doesn't matter- a bigger square will make a bigger (wider) flower. I trim the edges so they are rounded.
2. Cut a swirl pattern into the square, leaving about a 1/2 - 3/4 inch in the middle. The width of the swirl is the height of the flower. If you like, cut a wave design into the outer edge of the swirl to give the flower a different look.
3. Starting at the end (the edge of the 'square'), twist the swirl into a flower. I glue the swirl to itself (one rotation around) at the beginning to keep the end together and at the end to the circle that was left in the middle.
These flowers all started as either 3x3 or 4x4 squares. After making them and gluing them down, I attached a magnet to the back- just for something to do with them.
After making them, I think I preferred the paper that was dyed all the way through, so there wasn't a white line on the edge (the orange flower has the white line), though most of the interesting designs of scrapbook paper arent on paper that is dyed all the way through.
After making them, I think I preferred the paper that was dyed all the way through, so there wasn't a white line on the edge (the orange flower has the white line), though most of the interesting designs of scrapbook paper arent on paper that is dyed all the way through.


Sunday, December 12, 2010

Thursday, November 6, 1997

Subscribe to:
Posts (Atom)